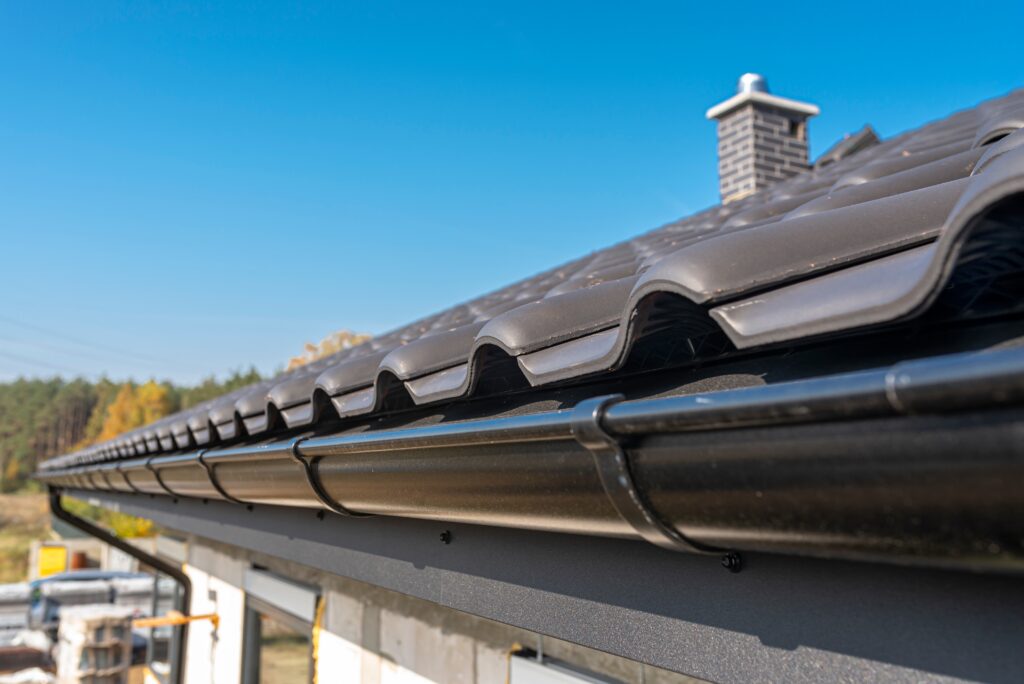
Over time, metal roofing has gained considerable popularity among homeowners and business owners alike. The main reason for this is the energy-efficient and long-lasting nature of metal roofs as well as their pristine appearance. From replacing old roofs to installing one for a new home, metal roofs are easily among the most durable and modern-looking roofing solutions. Whether you’re DIYing an installation or hiring a roofer, knowing about the process can help you be prepared for it.
Factors You Cannot Miss Before Installing Metal Roofs
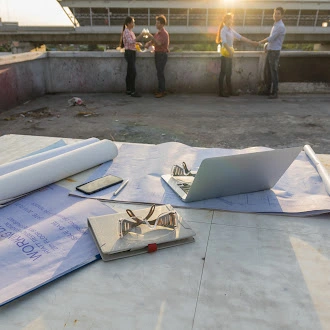
Whether you own a commercial property or a residential one, you’re surely interested in guaranteeing a successful installation for your metal roofing. But that is not possible without proper planning. Hence, our expert roofers at Grayson County Roofing Systems, LLC, have created this comprehensive guide to metal roofing installation.
Let’s discuss some essential elements that any person should know before getting into metal roofing installation:
| Key Factor | What You Need To Know |
Replacement or new installation | Installing a new roof needs precise measurements as well as a carefully placed underlayment. Roof replacement saves both time and disposal costs. |
Building structure | Sheds and barns have simpler structures that need simpler installation. Residential houses have dormers, valleys, and chimneys that make the process harder and costlier. |
Metal roofing panel | Different panels come at different prices and have varying characteristics. |
Roof size | Calculate your house’s total square footage to determine the number of panels you will need. Determine panel length by measuring the length of each roof section. |
Budget | Set a realistic budget by considering everything from underlayment, metal trim, panel cost, accessories, and other materials. |
A 9-Step Guide to DIY Metal Roofing Installation
Now that you are aware of the factors that need serious consideration before you step into a full-fledged metal roofing installation process, you’re certainly ready to learn more about how this process works.
Here is a 9-step guide that you can follow for successful metal roofing installation:
a. Surface prep
Remove the old roof to expose the decking underneath it and carefully look at the decking for any kind of weak spots, damage, or rot, and make the required repairs. Installing a waterproof underlayment is essential to safeguard your home against potential water damage.
b. Attaching the dripping edge
A drip edge is a metal strip that directs water away from your building and protects roof edges against damage. So, the next step is to install a drip edge just along the perimeter of your roof for a clean finish and secure it with screws or nails.
c. Planning for the panels
Next, you have to plan out how you’re going to lay your panels. Start at the roof’s edge, which is opposite to the prevailing winds, and ensure that the overlaps are directed away from the wind. Next, mark the roof to easily maintain the alignment of the panels you’ll be installing.
d. Cutting panels to the right size:
The panels need to be cut to the required size before installation. For clean and precise cutting, you can use either a circular saw with a metal cutting blade or metal snips. Remember to double-check your measurements before actually cutting.
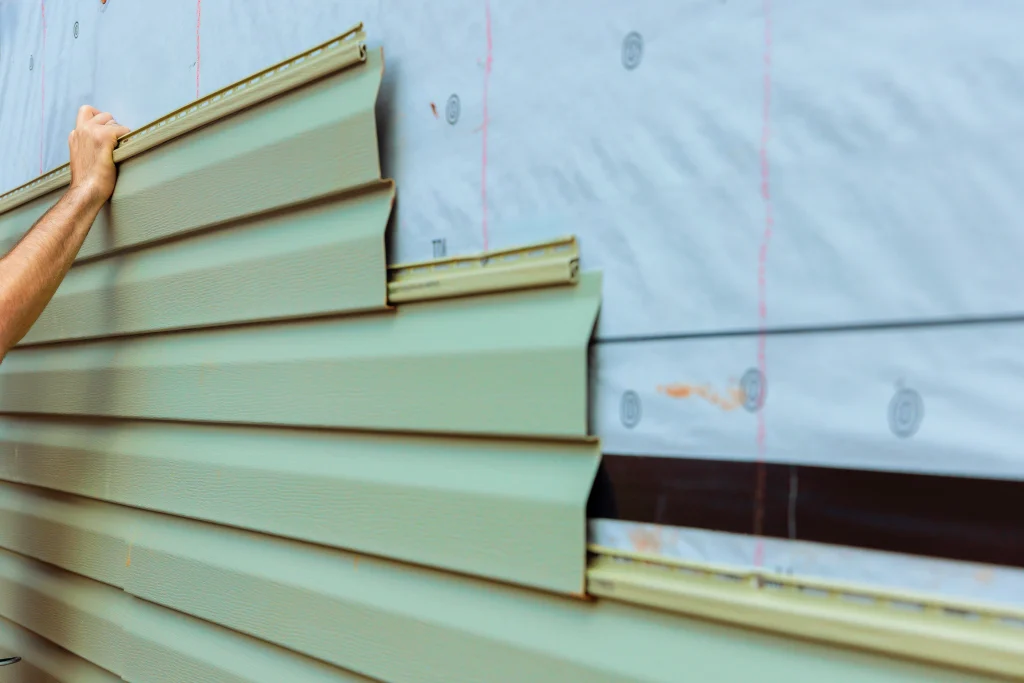
e. Time to install the first panel:
Now, you need to install your first panel by aligning it with the drip edge, and then use it as a reference to install the rest of the panels in an overlapping position. Don’t forget to position it in a way that allows for the pre-set overhang.
f. Sealing with fasteners:
If you are concerned about preventing damage to the panels, don’t worry. The trick here is to create a watertight seal by using screws with rubber washers and placing them evenly along the ribs.
g. Overlapping the panels:
Refer to the manufacturer’s instructions to verify your panel overlapping technique. The durability of your roof and its protection against leaks depend on properly overlapping it. For easier installation, a great tip is to use alignment marks or pre-drilled holes.
h. A finished appearance with the ridge cap:
The ridge cap needs to go along the roof’s peak and provides a finished appearance as well as seals weak parts against water infiltration. Make sure your seams are tight and secure them with screws.
i. Flashing and the final inspection:
Lastly, add flashing around the skylights, vents, and chimneys for a waterproof barrier against leaks, and do a final inspection to check if:
- Panel edges are aligned.
- Overlaps are secured.
- Fasteners are tight.
Conclusion
Metal roofs can boost both functionality and aesthetics, but for a smooth installation, you need to first consider several factors like panel selection, roof type, and building structure. Moreover, with the right guidance, proper planning, and careful execution of all the above steps, you too can benefit from the advantages of a successful metal roofing installation project.
FAQs
- Do you need plywood under a metal roof?
Yes, you can add it to improve the structural integrity of your roof and provide a smoother surface for installation. - Can I install a metal roof myself?
Yes, if you have the required skills, tools, and feel comfortable working safely at heights. - What is the easiest type of metal roof to install?
A screw-down metal roof with exposed fasteners is generally the easiest to install for beginners. - How long does it take to install a metal roof?
For an average home, professional installation can take 2–4 days, while DIY projects may take longer depending on your experience. - How long will a metal roof last?
A properly installed and maintained metal roof can last 40–70 years, depending on the material and environmental conditions.