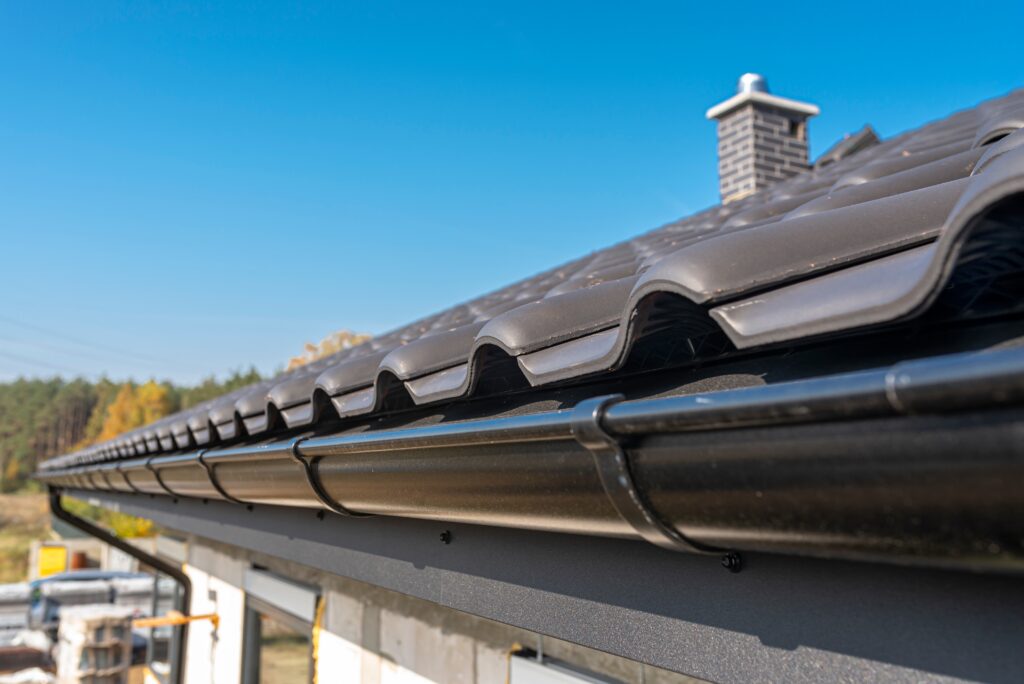
The issue of downspout installation is one of the most important factors in keeping water away from the home. This guide by Grayson County Roofing Systems LLC will help you understand what tools and materials you need and show you each step in a straightforward and easy-to-follow manner. Whether it’s your first time with home repairs or you are on a tight budget, it is possible to install your own downspout. With these measures, along with professional gutter services, you will prevent rainwater from damaging your foundation and help your home last longer.
Prep for the Downspout Installation: Gather Essential Tools & Materials
Before you start the installation process of your downspout, it is very important to collect all the tools and materials you need. Here is the checklist for downspout installation:
- Measuring tape
- Screwdriver and drill
- Metal file for sanding edges
- Hacksaws or snips for cutting
- Protective gear (goggles, gloves, etc.)
- Downspout fittings or straps
- Sheet metal screws or rivets
- Gutter sealant
- Downspout elbows
- Downspout extensions
Here is another list detailing the different types of downspout materials best suited for your home gutter system:
- Aluminum: Lightweight, rust-free, durable, and relatively inexpensive. It also comes in a variety of colors.
- Plastic (Vinyl): The least expensive and simplest for DIY installation. Lightweight and rust-resistant, but less durable than metal.
- Galvanized Steel: Strong and cost-effective, but prone to rust over time. Works well in snowy or cold climates.
- Copper: Very long-lasting, rust-free, and adds a luxurious look. More expensive and typically installed by professionals.
Downspout Success: Your Step-by-Step Installation Journey
Proper installation of downspouts ensures that rainwater moves safely around your house, avoiding expensive damage and keeping your foundation in shape. Homeowners in Melissa, Denison, Anna, McKinney, and Sherman, TX can follow this step-by-step guide to secure their property:
Step 1: Plan and Prepare
Install downspouts at the lowest point of the gutter. This helps drain water efficiently. Space them 20 to 40 feet apart. Using the downspout outlet, mark the exact spot on the bottom of the gutter for your cut.
Step 2: Cut the Downspout Hole
Drill a small pilot hole first, then make a larger opening with tin snips or a hole saw. Flatten each sharp edge using a metal file. This ensures a tight and secure fit of the outlet component and helps avoid injuries.
Step 3: Attach the Downspout Outlet
Apply silicone sealant around the flange of the outlet. Insert the outlet into the hole in the gutter. Make sure it is firmly connected with rust-resistant screws or pop rivets. This forms a strong, airtight bond that will not leak.
Step 4: Build the Downspout Pipe
Measure from the gutter to the ground. Install the straight pipe and elbow lengths needed to reach the wall. Cut the straight pipe to size and bend one end to fit the pieces together.
Step 5: Strongly Attach the Downspout to the Wall
Install the downspout at right angles to the wall of the house using a level. Place pipe holders (straps) every 3 to 4 feet. Attach the straps to the wall using the appropriate screws for your siding material.
Step 6: Install the Final Extension and Test
Attach the bottom to the final elbow or extension piece. This will direct water at least 4 feet away from your foundation. Place a splash block and test using a garden hose to ensure proper flow and no leaks.
Conclusion
You did it! By installing your own downspout using this step-by-step guide, you have taken an important step in protecting your home from future water damage. Regularly inspect your downspout to ensure there are no leaks or blockages and that it is functioning at its optimum capacity. With proper downspout installation, you can enjoy peace of mind knowing your house is secure, dry, and well-maintained.
FAQs
- How many times should I clean my downspout?
It is recommended to clean your downspout at least three times a year, especially during fall and spring. - How far should I install a downspout from my house?
It is best to install it at least 4 feet away from your home. - How do I know that I need to change my downspout?
When you see rust, cracks, or large dents on your downspout, it is time to replace it immediately. - Can I install a downspout myself, or should I hire a professional?
Yes, a DIY installation is possible if you have the right tools and follow step-by-step instructions carefully. However, hiring a professional ensures proper placement, secure attachment, and long-term reliability. - What maintenance is required after installing a downspout?
Regularly check for clogs, leaks, or loose attachments. Clean your downspouts at least three times a year and ensure extensions direct water away from your foundation to prevent damage.